
Mastering DaVinci Resolve: Essential Editing Techniques for Filmmakers
DaVinci Resolve has become an essential tool for modern filmmakers thanks to its powerful, all-in-one capabilities. A recent workshop hosted by Cinematography for Actors (CFA) and led by John Parenteau of League of Filmmakers explored key features and functionalities of the software. The session focused on helping underrepresented filmmakers and creatives in the CFA community navigate DaVinci Resolve with confidence and clarity.
Watch the Full Workshop Video
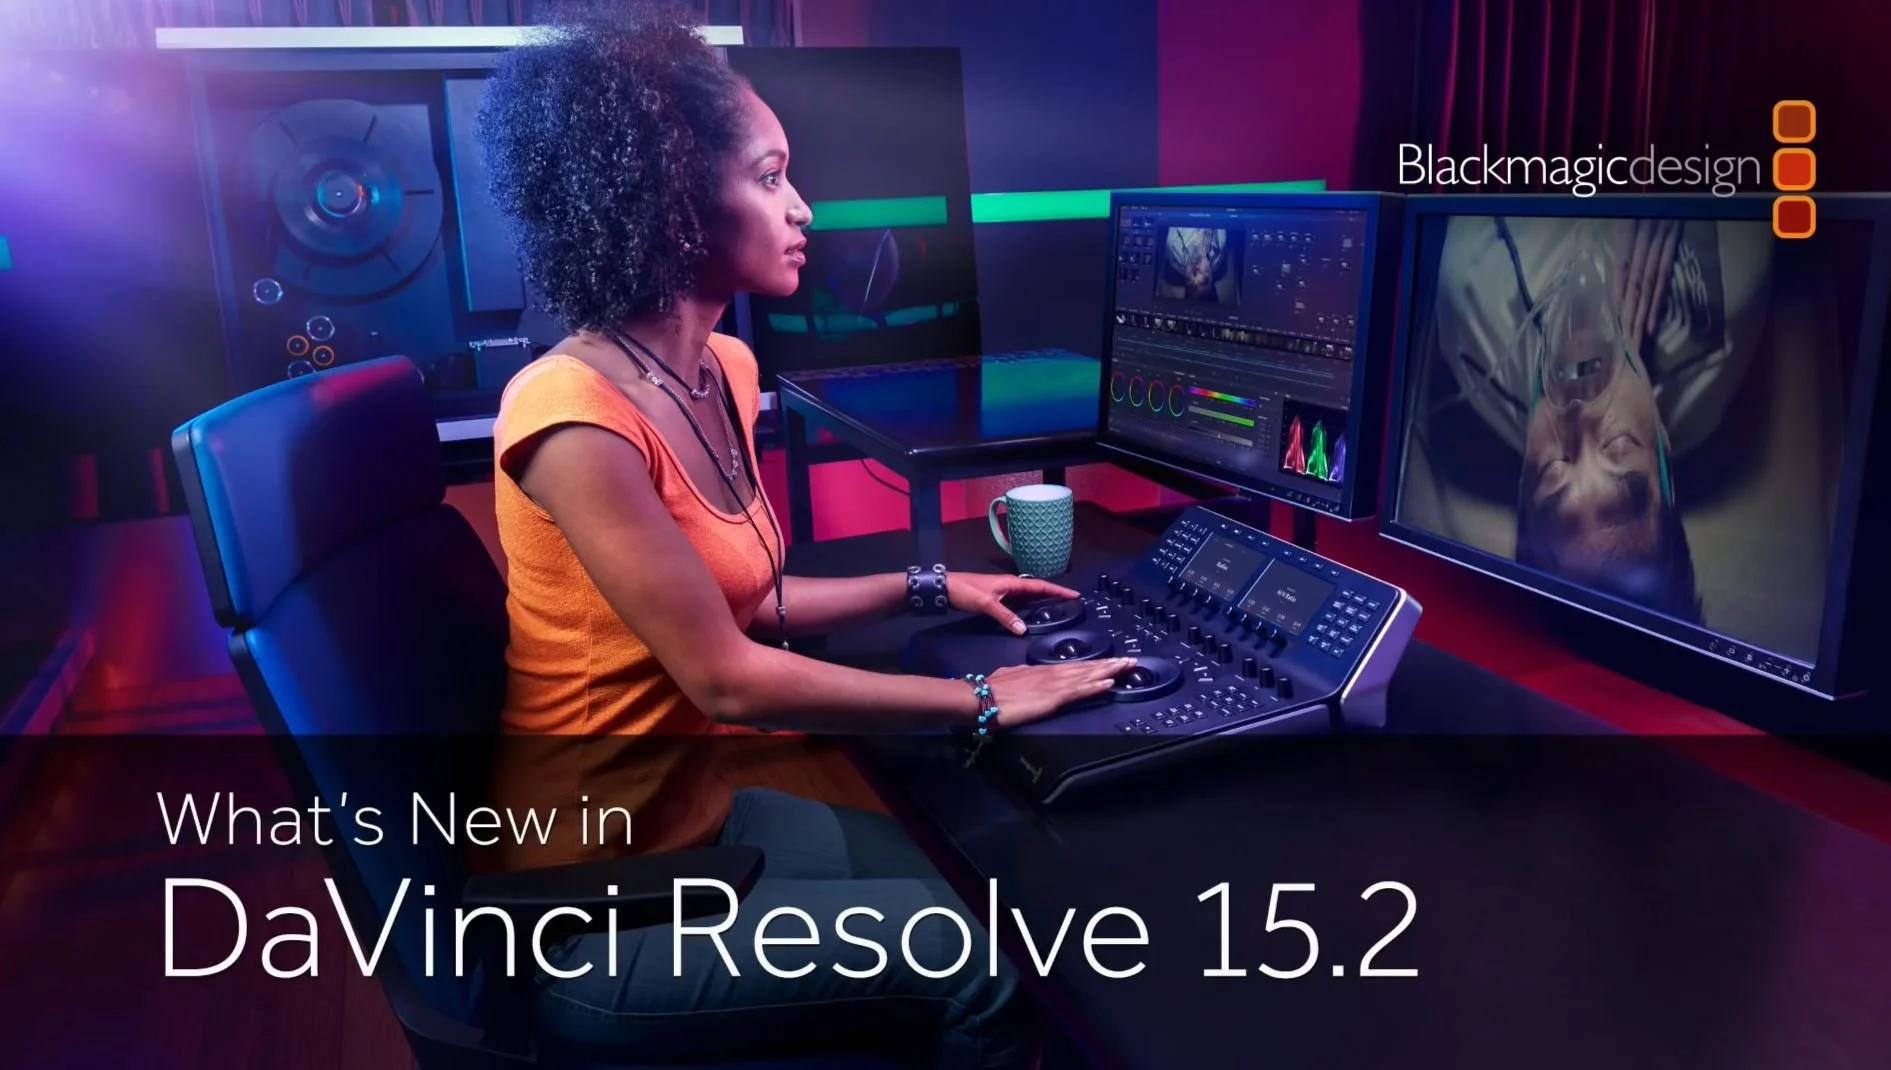
Understanding the DaVinci Resolve Interface
At the core of DaVinci Resolve is a user-friendly interface that provides seamless access to a range of editing functions. The primary panels include:
Media Page: Used to import footage and organize files into bins for streamlined project management.
Edit Page: The main workspace for cutting and arranging clips on a timeline.
Fusion Page: Reserved for visual effects; not essential for standard edits.
Color Page: Key for grading footage to achieve a consistent and compelling visual tone.
Fairlight Page: A comprehensive audio mixer ideal for advanced sound design.
Delivery Page: Where the final project is exported.
Importing Footage into DaVinci Resolve
Proper media import is the first step in any efficient editing workflow:
Open the Media Page.
Navigate to the desired footage on local drives.
Create bins to organize assets—label sections as Footage, Timelines, Graphics, Audio, and so on.
Drag files into the relevant bins for structured access during the edit.


John Parenteau, League of Filmmakers
“The beauty of Resolve is that it's not just an editing package. It does pretty much everything.”
Basic Editing Techniques
Once footage is organized, the Edit Page becomes the central hub for constructing the film:
Creating a Timeline: Use the “File” menu to set up a new timeline. Arrange clips as needed to establish the narrative flow.
Setting In and Out Points: Use I and O keyboard shortcuts to mark start and end points for each clip.
Edit Functions:
Drag and drop clips into the timeline.
Use the Razor Blade Tool to create precise cuts.
Delete with Backspace to leave gaps or Delete to shift clips together.
Color Grading Basics
The Color Page enhances footage by enabling visual adjustments that bring out mood and consistency:
Add Nodes: Build a node structure to adjust brightness, contrast, and overall image balance.
Use Curves and Wheels: Modify color channels to match the desired look and maintain RGB balance.
Saturation: Increase saturation to make colors more vivid and visually engaging.
Exporting the Project
Once the edit is complete, the Delivery Page is used to render and export the final video:
Select Export Settings: Choose formats like H.264 for most digital platforms.
Add to Render Queue: Click Render All to begin exporting to the selected destination.
Mastering DaVinci Resolve opens the door to professional-quality editing, making advanced techniques accessible to filmmakers of all experience levels. CFA encourages creatives to continue developing their skills through community-driven opportunities like the Film Challenge, as well as upcoming labs and workshops.
To learn more about CFA and its mission to support underrepresented voices in film, visit the website and stay updated on programs and events designed to nurture emerging talent.